Cabinets!
We’ve been working quite hard. Two weeks vacation employed quite intensively to it. The first with Erik still in daycare so you could say full time working on it. It is a rather big kitchen…
For the second week we got Erik’s help 🙂
This is the current state of the kitchen, taken with a wide angle lens. Comments as captions.

We added lightning inside the vitrine cabinets and under them for counter illumination. The backsplash is obviously not finished, it will be tiled after the marble countertop is installed. Our old combi microwave was there temporarily while we waited for a missing piece to arrive in order to install the oven and microwave, now it is not needed so it will be removed.
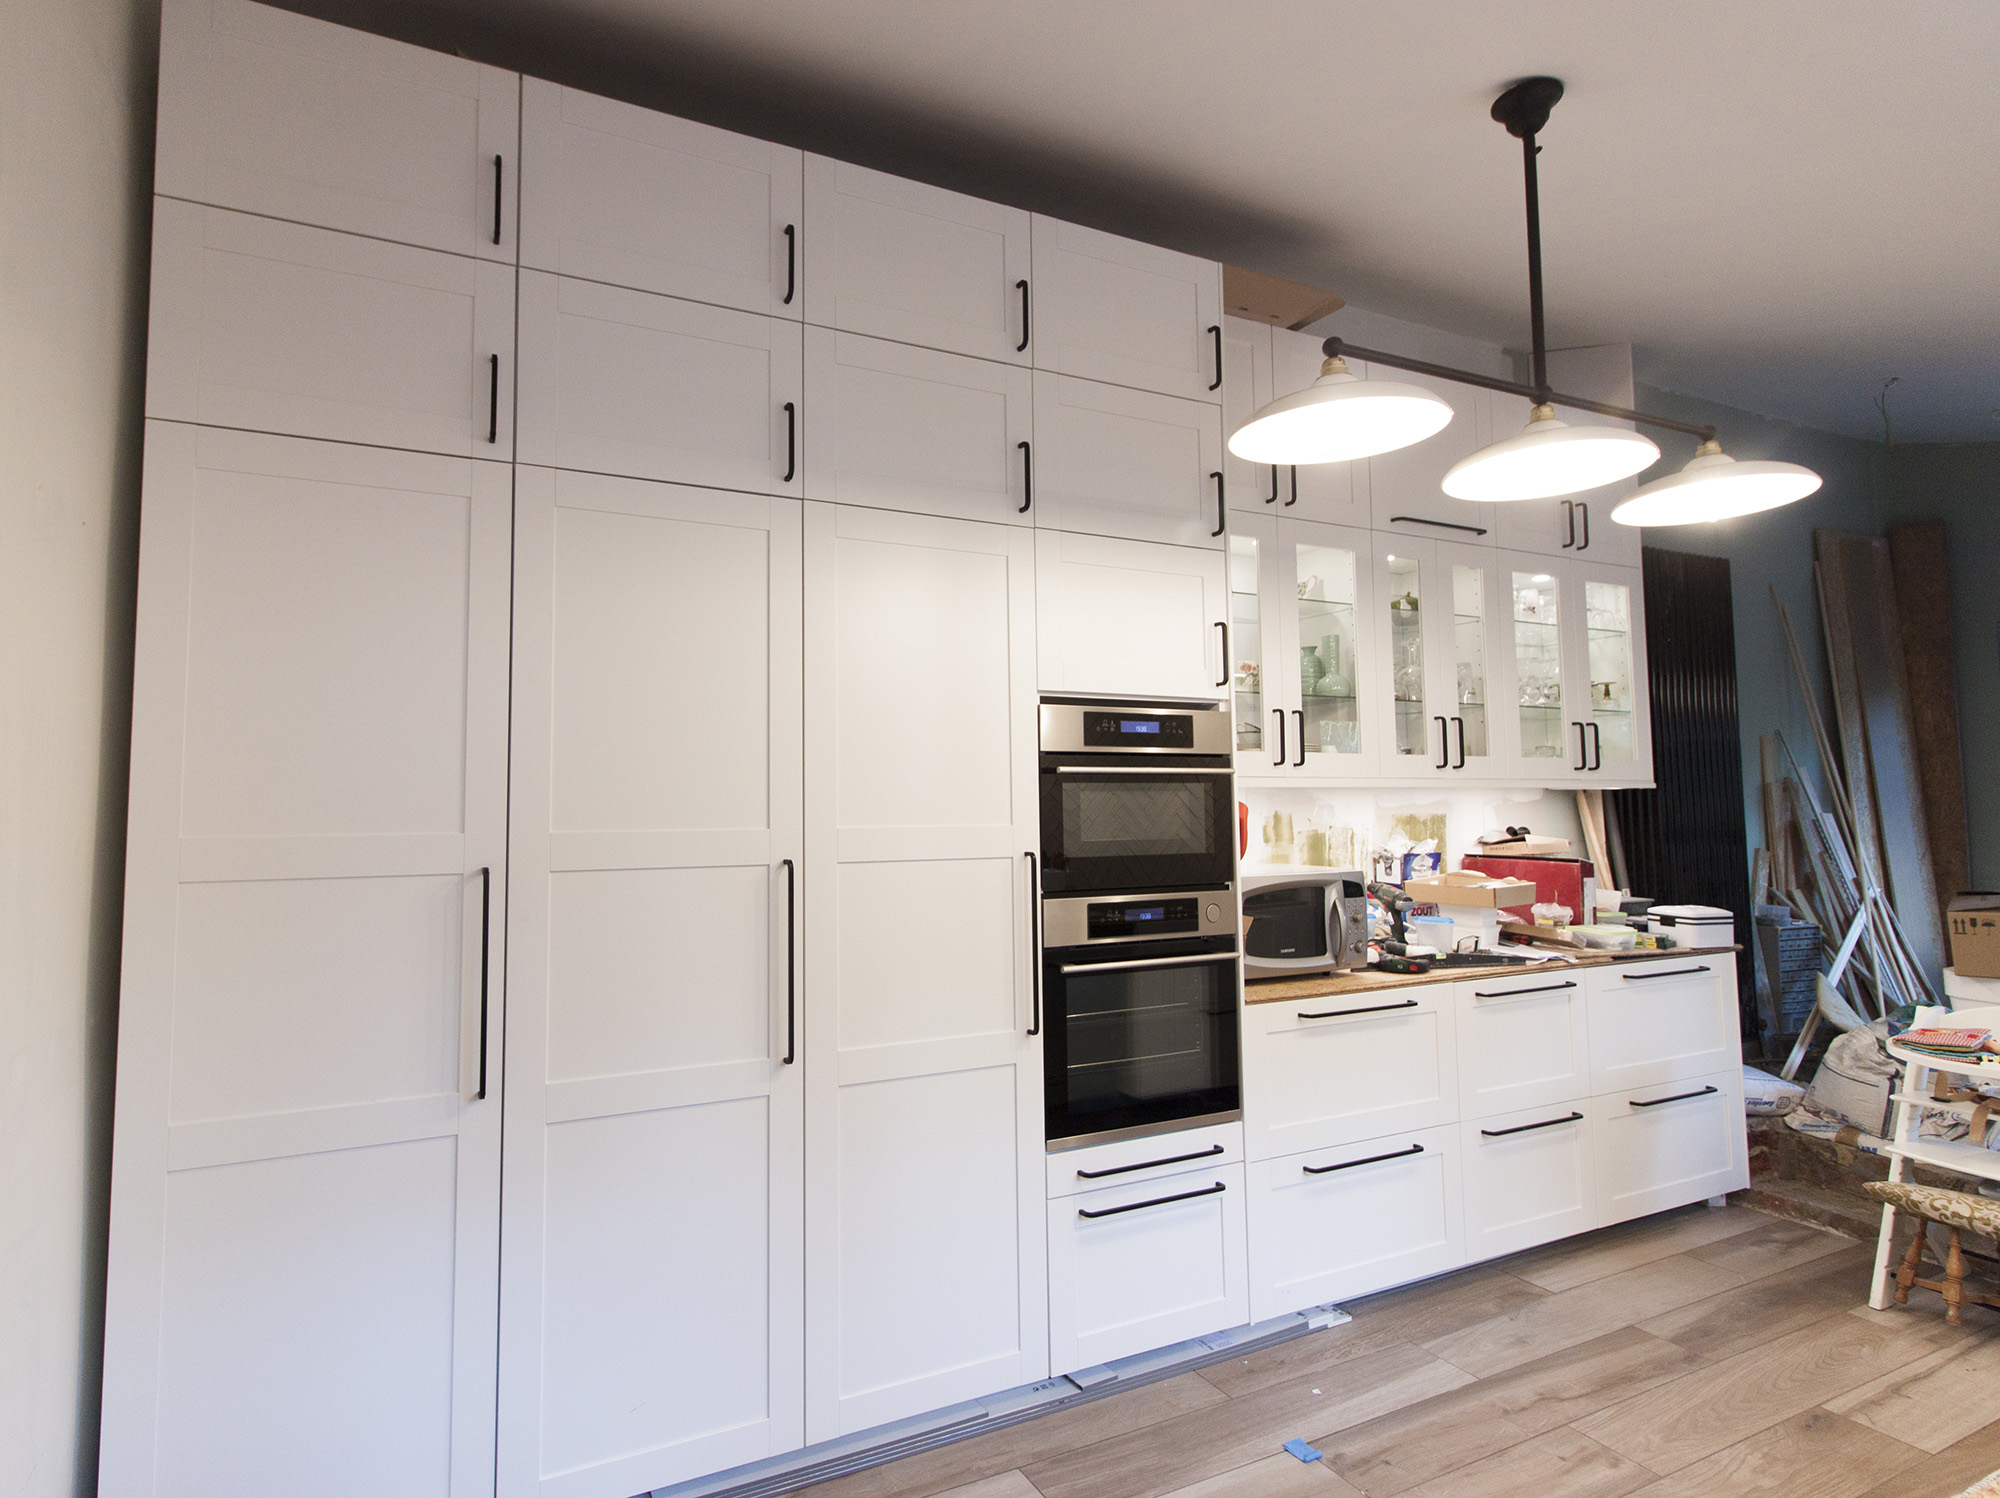
On the tall cabinets left to right: freezer, fridge, pantry, oven + microwave. Then we got a surface with upper and lower storage cabinets. We also put additional storage over the top of everything.

We still need to figure out how to install the dishwasher door... We also installed the kitchen hobs on temporary OSB boards we are meanwhile using as counter, since we are already using the new kitchen.

The sink will also only be installed after the marble.

It is a wide galley kitchen. We're still storing tools in the dining room at the back (and on the left side counter), plus cubic meters of cardboard from all these cabinet's packaging. Cardboard is collected once a month in our town.
And this is a gallery with progress pictures. And at the end I also added some other pictures to which I added a few random comments on building the Ikea kitchen…

Installing all the rails on the wall. Measuring correctly is critical.

Hanging layers of top cabinets.

Hanging bottom cabinets.

Little "helper" 🙂

Our kitchen is maybe even a little wide to be considered a galley kitchen, however, when these drawers that slide out completely are open on both sides, there isn't all that much space left!

We struggled with the sliders for the doors of the built-in fridge and freezer. In general very happy with the Ikea kitchen, but these are flimsy, rattly and crappy.
Too easy that the door does not close enough for the fridge to actually close. We had to place bumper stickers as shown here to push the door further, and we found we better used these self-drilling screws rather than the ones provided. They have to be short enough to not puncture important thing inside the fridge door.
These are actually from several years ago when we bought the fridge, so I hope they have improved this.

Pim built a structure to hang the cabinets on the window side, since we are going for a deeper counter.


Hanging cabinets on the window side.

Built in fridge! <3


Philips Edison type light bulbs. The lamp is Vechia 3 from Frezoli lightning.

We bought the tall cabinets, fridge and freezer, but no doors, several years ago since we needed them. They gave us the wrong item with no ventilation holes and grills, so we had to do this ourselves since once the doors are installed ventilation is important.

Sigh! these instructions are wrong. You can count the holes in the drawing (at least that matches reality), and they don't add up, plus the hinge placement is also incorrect...

Holes not lining up...

This template was provided with the 20cm wide pull-out cabinets since the constructions of those is a bit more involved (you need to mark holes and so on yourself). They came in super handy when I marked the handle placements since the template is exactly half of the rail of the Savedal doors and drawer fronts.