I have a few posts pending, as a reminder for myself, updates on: loo, dining room, kitchen… solar panels!!
But let’s get on with the shed story.
Now we are here: the kitchen and dining room needs a bunch of details but they’re both fully functional. So our fully functional rooms at this time are: kitchen, dining room, loo, laundry, library, bathroom, bedroom. A mess of a place: parlor (functioning as a very stuffed living room right now), parts of the hall. Non-functional but next on the list and in fact already started (on rainy days): workshop. Not even started: Erik’s bedroom, living room.
So now we have all the tools and leftover materials we’ve used for the renovation (this is a LOT of tools and materials) in the future living room, and also some garden tools. And a ton of insulation is stored in the piece of the hall between the staircase and the living room (this piece is now impassable, but you can go around the library). We cannot even continue working in the living room with this mess! So we decided that before the weather got to harsh, we needed to install a shed and put in there all garden tools (the larger ones are now hanging in the terrace under the old tomato roof), the tools, and the outdoor sofa cushions also need to live there during winter.
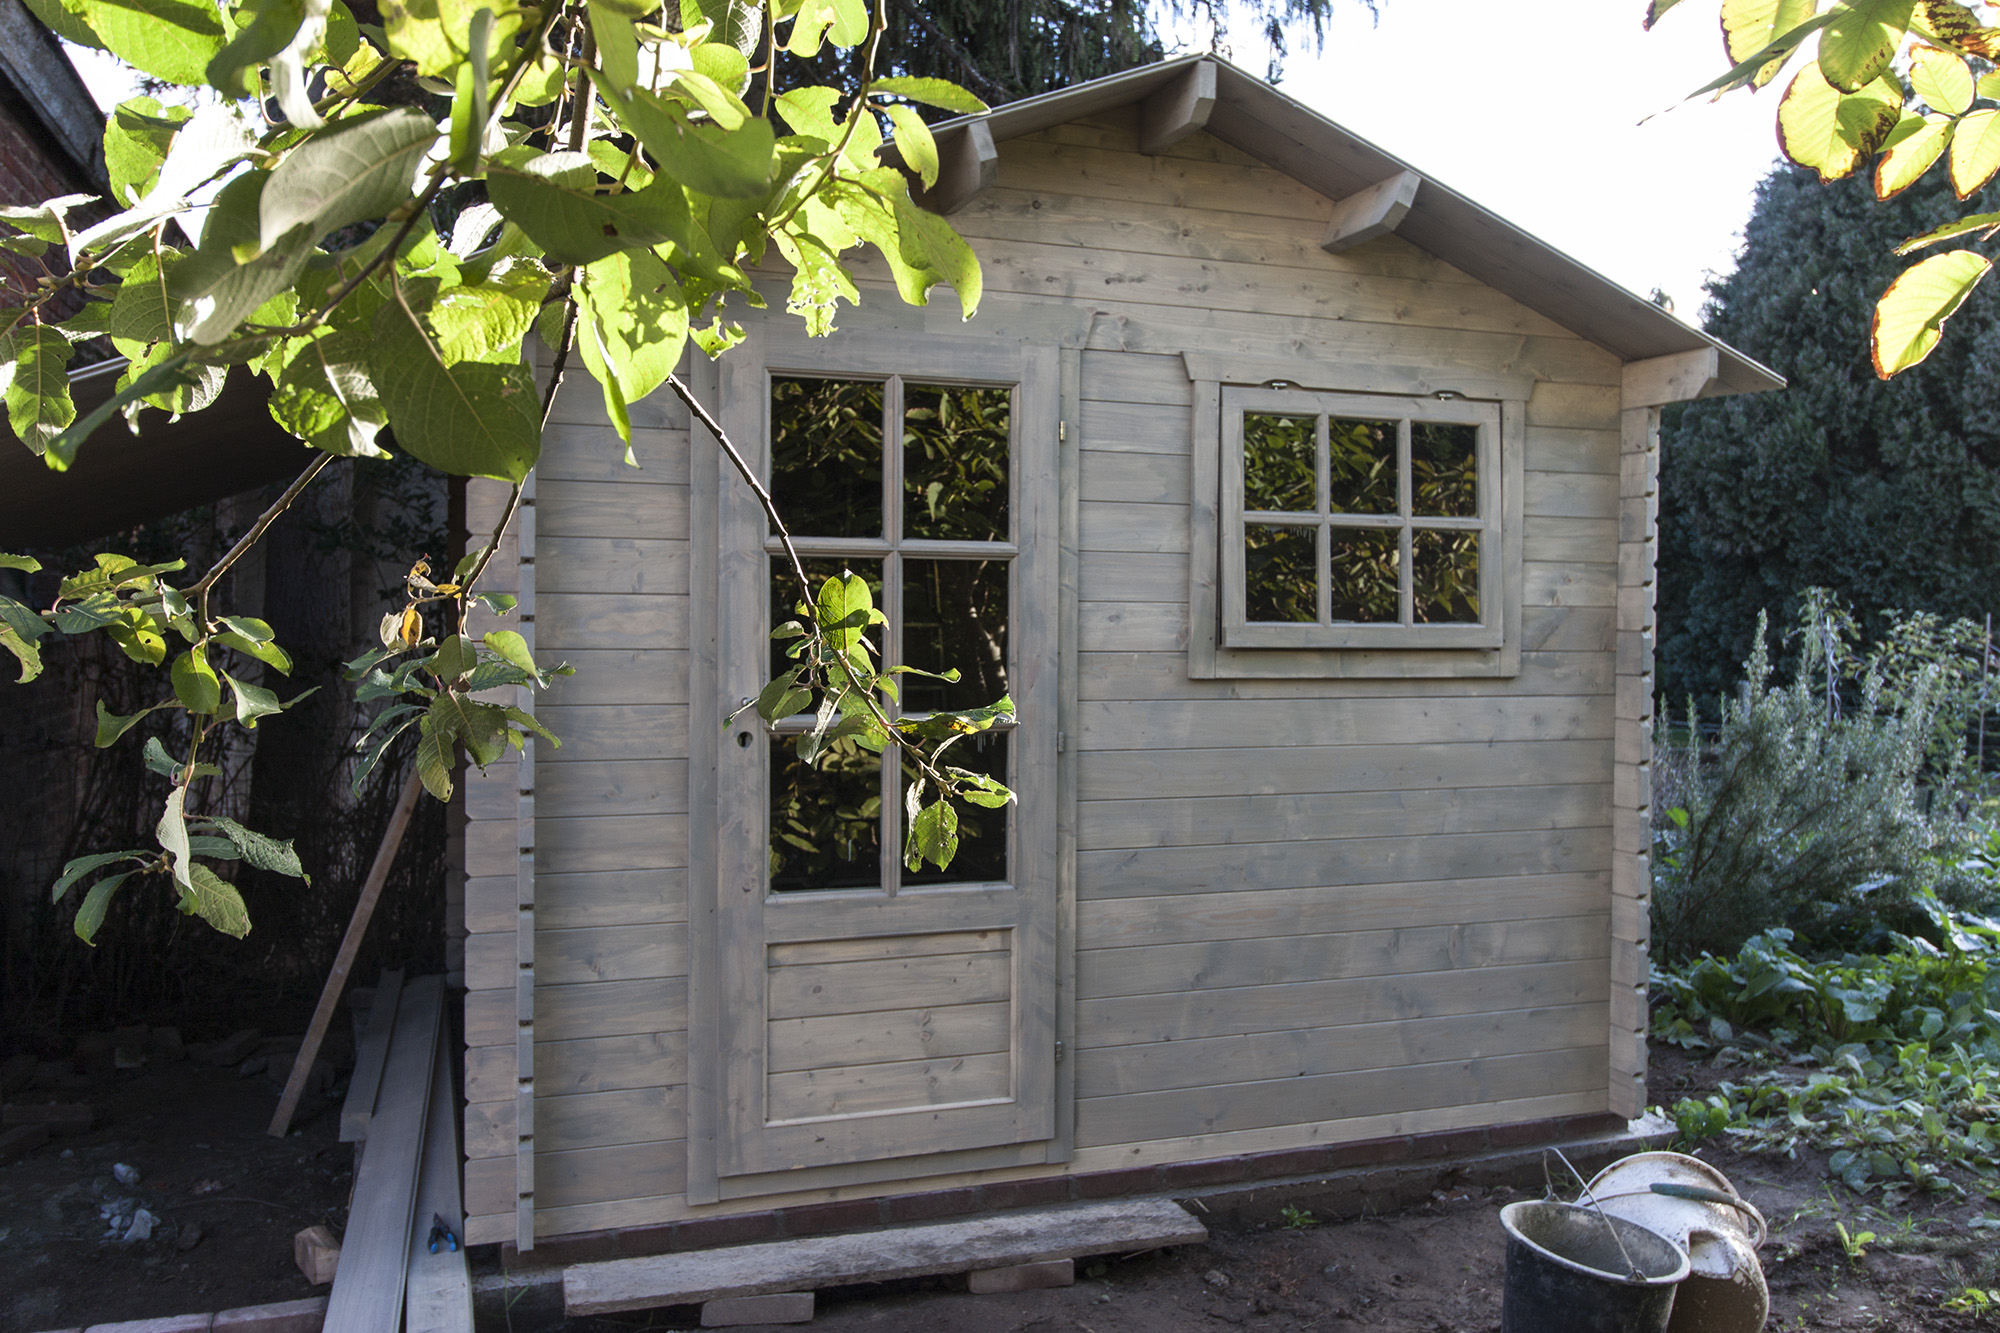
Originally Pim wanted to build a shed out of brick, but this would take approximately another 5 years 😀 so I convinced him to just buy a wooden one. Due to our narrow long garden, we were looking for a long time to find a shed that fit well in the space we have. We wanted to install it against a corner next to the neighbour’s brick building, and it had to be longer than it is deep, preferably with a little porch thing. We went for this “Lars” shed (I think this is a render):

 Pim still built a decent cement foundation, and an extra layer of foundation bricks to go under the first wooden boards (comercially available were either a row of more root resistant wood or of plastic – we think the bricks are better). Pim is very concerned about wood rot. It is a very rainy country! We bought the shed, and there was the option to buy it already pre-treated, but we decided to buy it untreated since I wanted the wood to be treated with Osmo outdoor oil (natural oil woodstain). A lot more work now, but I think this will pay off in the future with less and easier maintenance (no need to sand etc). Plus it is not toxic. We chose the colour “basalt grey 903”, which is a slightly warm, sheer light grey. This is also contains a UV filter.
So indeed that was a lot of work and Pim spent like three weekends painting the boards around all surfaces. I did a little bit but mostly I had to stay indoors with Erik. It got really cold actually. We used 5 liters and it was just enough for one layer (Pim’s a bit heavy handed though!). The shed should get another layer now that it is put together, but we’ll do that later next year sometime since we need to move on to other things, and we saw it is very waterproof already.
Putting it together took basically one weekend and Pim is very happy with how easy it was. It is now only missing the roof “tiles”, which are actually heavy asphalt-like sheets. This goes over the wooden tongue and groove roof planks. I hope this doesn’t take more than another weekend, then we can clean up the floor inside (got covered in pine needles), caulk a bit along the base, and move all the stuff in.
There’s still some brick flooring to be made under the “porch” side of the shed, where probably bikes will live, I don’t know if Pim wants to leave that for next spring/summer. Hope so, because I really really want to move on to the workshop! And before next summer we need to also add a tomato roof on the sunny wall of the shed, we really missed our fresh tomatoes last summer!